Merge rules
If you'd like more granular control over which rows are included in the merge, you can add custom rules to include only rows that match specific criteria.
Rule setup
Rule interpretation
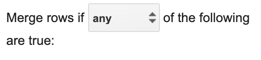
In the "Set merge rules" tab, set how you'd like the rules to be interpreted.
!["Merge rows if [any] of the following are true" dropdown open, showing "any" and "all" options.](https://techlit.tools/media/pages/tools/mail-merge/merge-rules/65eb7941ba-1786383078/rule-mode-dropdown.png)
- Any: If more than one rule is listed, at least one rule must be true for a row to be included in the merge.
- All: If more than one rule is listed, all rules must be true for a row to be included.
Add a rule
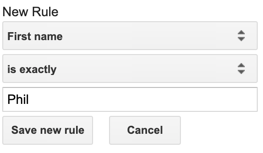
- Set the column in the spreadsheet you'd like to apply the rule to.
- Set the rule type.
- For some types, you'll need to set a comparison value (e.g. for "Text is exactly", you need to specify the text that column should match exactly).
- Click "Save rule" to save.
Delete a rule
Click the trash can next to an existing rule to delete it.

Edit a rule
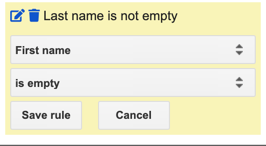
Click the pencil next to an existing rule to edit it. Make your edits and click "save rule".

Example
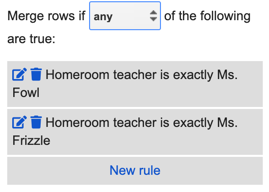
Suppose you have a list of every student in the school in your spreadsheet, but you only want to run the merge for students in Ms. Fowl's and Ms. Frizzle's homeroom classes. You can create two rules to accomplish this.
First, set your rule mode to "Merge rows if any of the following are true". A student only needs to be in Ms. Fowl's class OR Ms. Frizzle's class, not both.
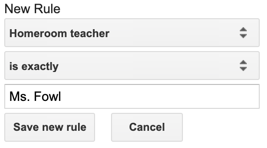
Create a rule to check whether the homeroom teacher is exactly Ms. Fowl and save it.
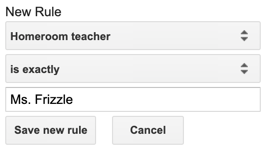
Create another rule to check whether the homeroom teacher is exactly Ms. Frizzle and save it.
Now, when you run your merge, the resulting document will only include students from Ms. Fowl's or Ms. Frizzle's class.