Getting started
Mail Merge for Print is an add-on for Google Docs that fills in a document template with rows from a Google Sheet, so you can quickly generate things like personalized letters, certificates, or name tags.
Copy the template
This add-on is not available in the Google Workspace Marketplace, so it only works inside a copy of the Mail Merge template (or a copy of a copy). It will not appear in existing documents or documents you create from scratch.
Once you've made your copy, you can delete the instructions inside it and build your own template.
Start the add-on
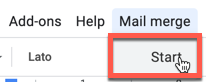
At the top of the screen, click Mail merge -> Start.
Missing menu
The Mail merge menu sometimes takes a few extra seconds to load once you open the document. If you don't see it next to the Help menu, try reloading the page.Authorize access
The first time you run the add-on, you'll need to authorize it. See the privacy page for more information about the permissions it requests.
This app isn't verified
When you attempt to give the add-on permission to run for the first time, you may see a scary-looking screen that says "This app isn't verified". This just means it has not been submitted to Google for review. To bypass this message, click Advanced and then Go to Mail Merge for Print (unsafe).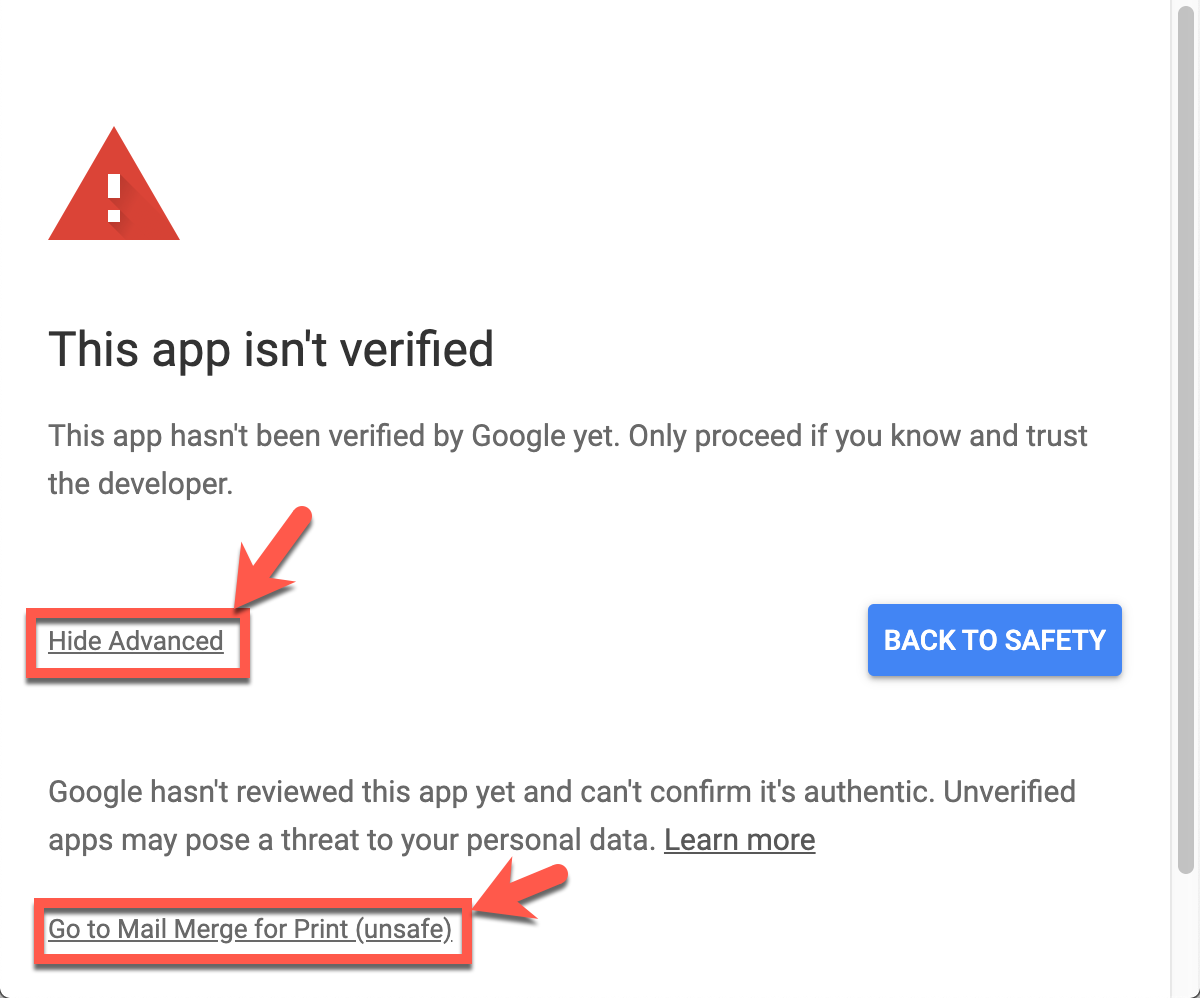
Choose a spreadsheet
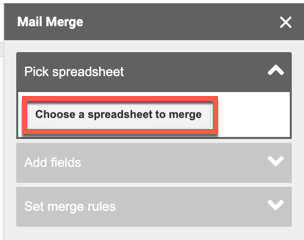
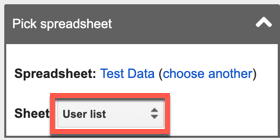
Click "Choose a spreadsheet to merge" in the sidebar to browse your Google Drive and pick the Sheets file you'd like to use as the data source for your merge.
If necessary, change to the sheet you'd like to use.
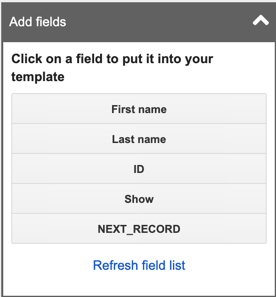
Add fields to your template
Click on the name of a field to add its placeholder to your template. If you make changes to the names of your fields, click "Refresh field list" to see the changes. See the skipping records page for more information about the NEXT_RECORD field.
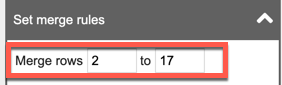
Set the rows to merge
Set the rows from your spreadsheet you'd like to include in your mail merge. The document will automatically duplicate your layout as many times as necessary to include each row in your spreadsheet.
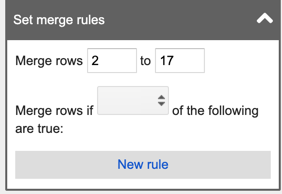
Optionally, you can add extra rules to include only rows that meet specific criteria. See the merge rules page for more information.
Run the merge
When you're ready, click "Run merge" to create a document with all of your placeholders filled in for each applicable row.

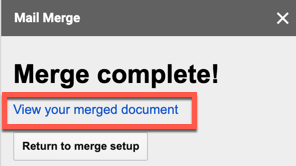
Click "View your merged document" to see the new file.